Friday, July 25, 2014

Fairy House

So confession: I'm a huge nerd. And I love the renaissance festival (remember my kids' garb from last year?). So I admit, huge fan of the ren faire. Last year we seriously lucked out and got free tickets because our kids were so darned cute and attracted a lot of attention at the gate. This year we decided we'd submit a fairy house for two free tickets. After my oldest and I spent about an hour on Pinterest we sketched out our ideas and got to work.

Step 1: We got a random log from a wood pile in our yard. Hubby used a hatchet to point off the end and I screwed the log onto a board to make a solid base.

Step 2: We gathered TONS of sticks and twigs for the roof. I'd originally wanted to use pinecone shingles, but 7-year-old nixed that one. I did too after trying to break off individual shingles. Twigs it was. We assembled a door, nailed it into place, and hubby used his mad saw skills to give us a place for the steps.

After our first day of working on the fairy house this is what we had:
 The swing and stepping stones were my son's idea.


 A few days later I went and scoured the clearance section at JoAnns for flowers. Great time to buy, really, all the spring stuff was 70% off. I got several sprigs from a single piece and I didn't pay more than 25 cents per piece. Yay!

Step 4: Glue gunned everything in place!
 Hubby helped me make windows by making some rope and hammering in pieces of an old plastic strawberry lid backed with shopping bag onto the log. (Really, the only things I bought were the clearance flowers and moss. Everything else were scrap bits we already had on hand or repurposed for our house.)

After a few more mossy additions, a dig through my scraps box, floral arrangements, and a few coats of paint our fairy house was complete!

Front


 1/4 turn


 The nest was my 7-year-old's idea. He was giddy over that detail!


 This shell mushroom was his detail, too. LOVE that!

 Back

Another 1/4 turn


 The bell actually rings!


I fully expect a fairy to settle in soon. :)

Friday, July 11, 2014

Babies!

I finished the baby quilt! Wahoo!
 I finally settled on straight-line quilting following the chevron patterns and along the first border. But then I went WAY out of my comfort zone for the scalloped stuff on the second border...
 I say WAY out of my comfort zone because I've never really done anything besides straight lines. I don't have a walking foot or free-motion-quilting foot (that will change once hubby passes the bar or I've gotten my home daycare up and running). So I just had to make do with what I had and I think it turned out really nice! Like, really REALLY nice! I didn't have a single pucker, that's a first for me! :D Less time with the seam ripper. yessssssss...

 I used a simple flannel for the backing. It made the quilt very soft and comfy. And once washed, dried, and crinkled it was just so snuggly and warm. Perfect yumminess for a cuddly, warm baby.

I tied it up and packed it up and said an almost tearful farewell to the little quilt. I hope my friend and her little one enjoy it!


Wednesday, the day the quilt went out, there were lots of baby vibes going out to my friend and my sister-in-law. SIL was induced with her fourth baby. It was a 3VBAC, but her first VBAC in hospital. And after going almost a full three weeks late with the last one she was so excited to meet that little guy without going three weeks past her due date. We finally got the news late Thursday evening that a happy, healthy, 9 lb 9 oz, 22 1/2 inch (!!!!!) little boy had arrived! I'm so excited to be an aunty to this little guy! Now I need to finish his quilt. ;)

Friday, July 4, 2014

June / July finishes

I started working on MY quilt! I've made many a quilt in my time, but never kept a one of them. So I'm changing that, one small piece at a time. I'm using a pattern from Camille Roskelley's Retro book. Love love her patterns. This is just one quarter of a single block...
 I will finish. Eventually. And have a pretty quilt on MY bed to show for it.

And then I had to set aside my quilt to get started on a quilt for a friend. Her baby shower invitation came in the mail and it is sooner than I thought! I scanned her Pinterest account and came up with something I really hope she'll like.
 This was my reference photo to see if I liked the layout. I only worked on this quilt three nights while watching Buffy (never watched the slayer before, kinda enjoying it. Joss Whedon at his best.).

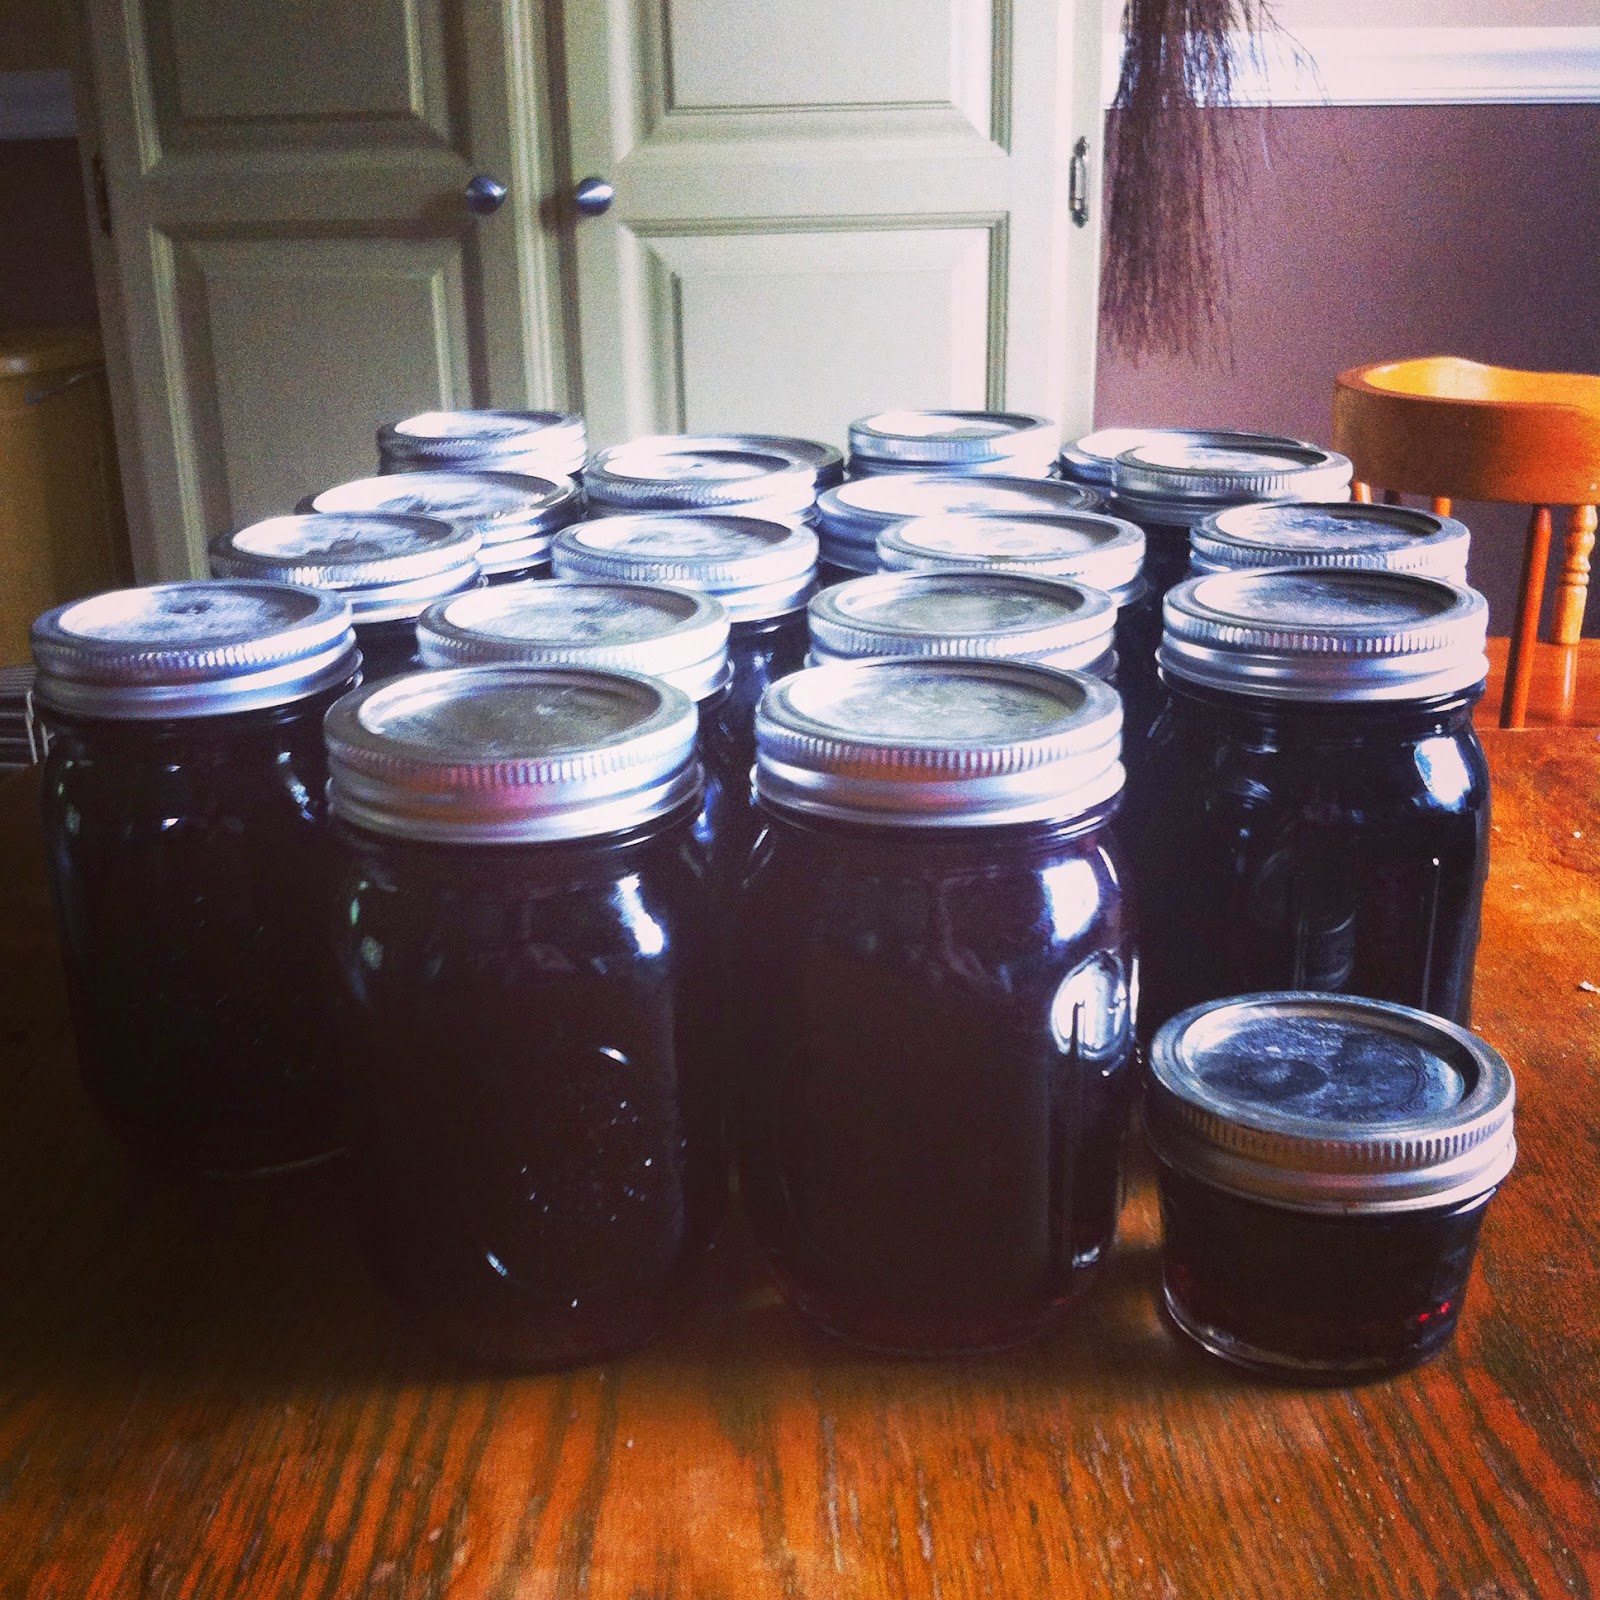
Took a break from sewing when I saw blueberries on sale $1/pint!
 19 jars of jam later and we're set. Now to finish canning the mulberries my kids have been collecting.

Finished baby quilt top:
 Time to get to quilting. No idea what I'm going to do. :/

Speaking of mulberries....

Project I started on Tuesday of this week and finished this morning. I figure this is the last year I'll be able to do matchy-matchy outfits for my kids. My oldest was ready to mutiny when I made him match. I guess 7 is really grown up in the kid world.

I used simplicity patterns. My daughter's dress was a booger. I lost a piece of the pattern somehow (I think the cat took off with it) so I had to draft my own piece. It all worked out I think. The yoke is really tricky on that dress. It took a whole Buffy episode to get it perfect.

The boys' outfits were much easier. The baby's overalls were the same pattern I'd used for his easter outfit, so that went together really quickly. And after sewing my oldest's shorts I don't know why I've been so scared to tackle big boy clothes up to now. I'll definitely do more sewing for him from now on.